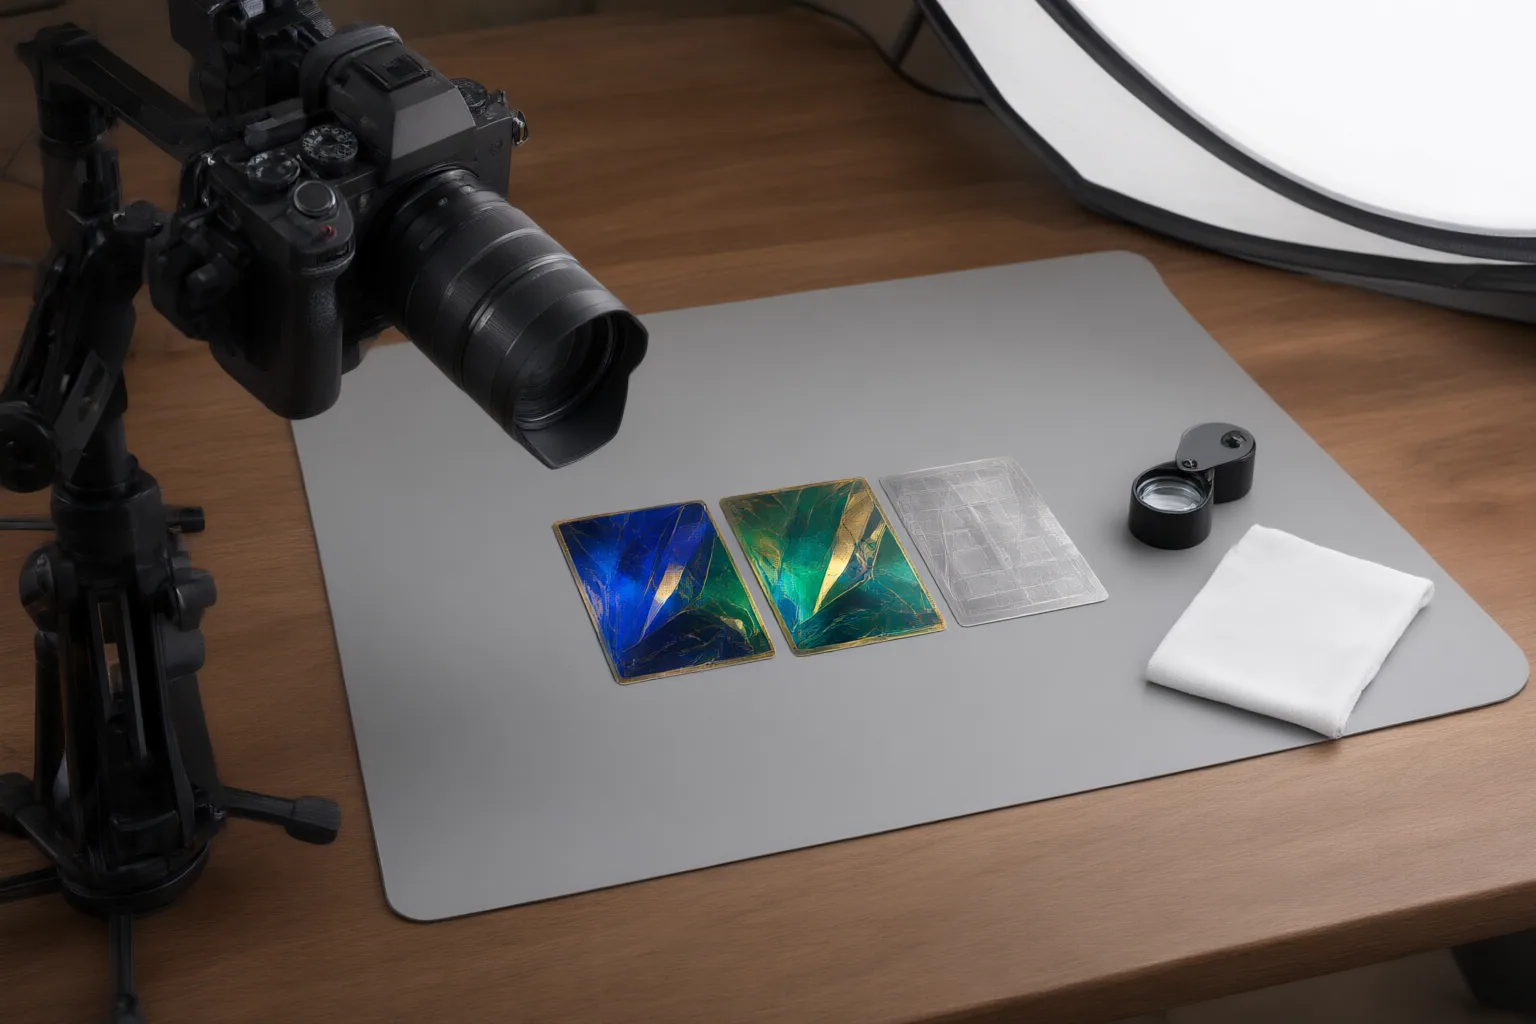
Reliable trading card condition photographs show the complete front and back, add close-ups of visible defects, and use consistent lighting and framing. Review each image at full size, make only restrained corrections, and link the finished set to a stable card identifier.
Build a Repeatable Photography Setup
Begin with a setup that can be reproduced whenever you add to or update a condition record. Keep the camera stable and use similar framing from one card or session to the next. This reduces blur and makes differences between photographs easier to interpret.
Use diffused, even lighting to limit reflections and overly bright areas. A straight-on view may provide a useful overall record, but it may not reveal every surface feature. If a scratch, dent, crease, scuff, stain, or other detail is difficult to see, change the angle of the light or camera and take an additional photograph. Retain the complete straight-on view as part of the set rather than replacing it with the angled image.
Consistency matters because lighting, focus, cropping, and perspective can change how the same card appears. If two sessions produce conflicting impressions, treat that difference as a reason to clarify the photographic setup or take another image—not as proof that the card’s condition changed.
Capture the Full Card and Visible Defects
Use a simple minimum shot list for every card:
- One complete photograph of the front.
- One complete photograph of the back.
- Additional close-ups of any visible defects that need clearer documentation.
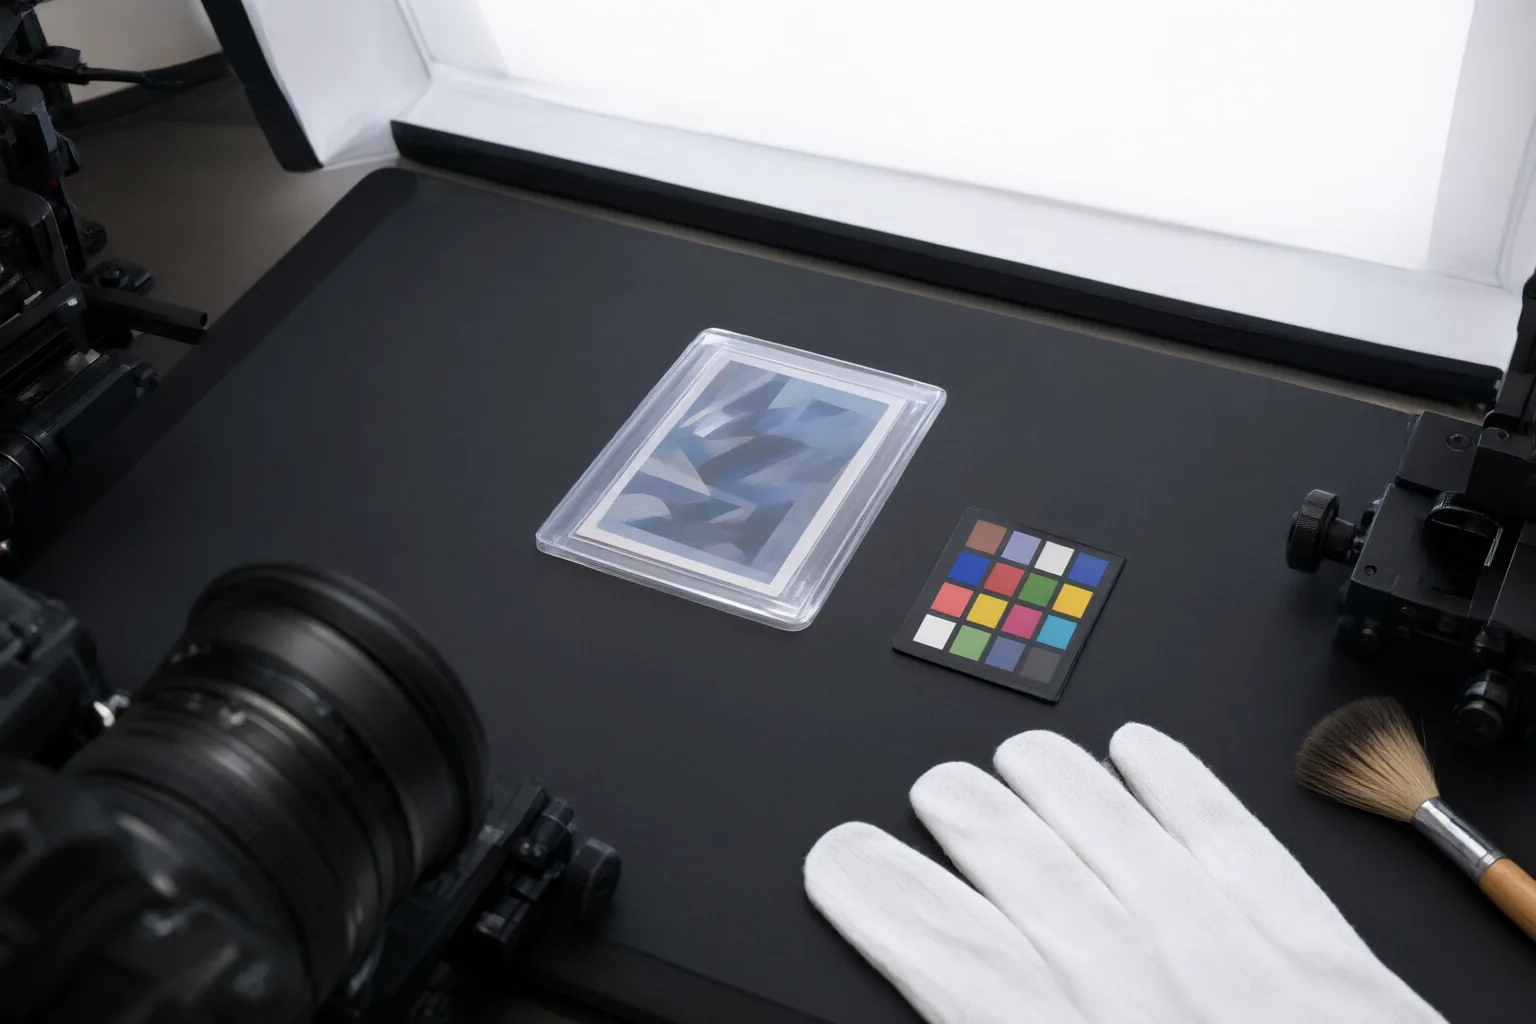
In both complete views, include every corner and the full length of every edge. Cropping even a small part of the perimeter prevents the photograph from documenting that area. Leave enough space around the card to confirm that nothing has been cut off, while keeping the card large enough for useful inspection.
Sharp focus is necessary, but sharpness alone does not make a complete condition record. Glare can cover surface details even in an otherwise crisp image, and an incomplete crop can exclude an edge or corner. Check for both problems before moving on.
Close-ups should supplement the complete views. Photograph the relevant area clearly, and consider an additional angle when reflected light helps reveal the feature. Because photographs only record what was visible under a particular setup, avoid treating one image as a definitive statement about the card’s overall condition.
Review, Edit Lightly, and File Each Image Set
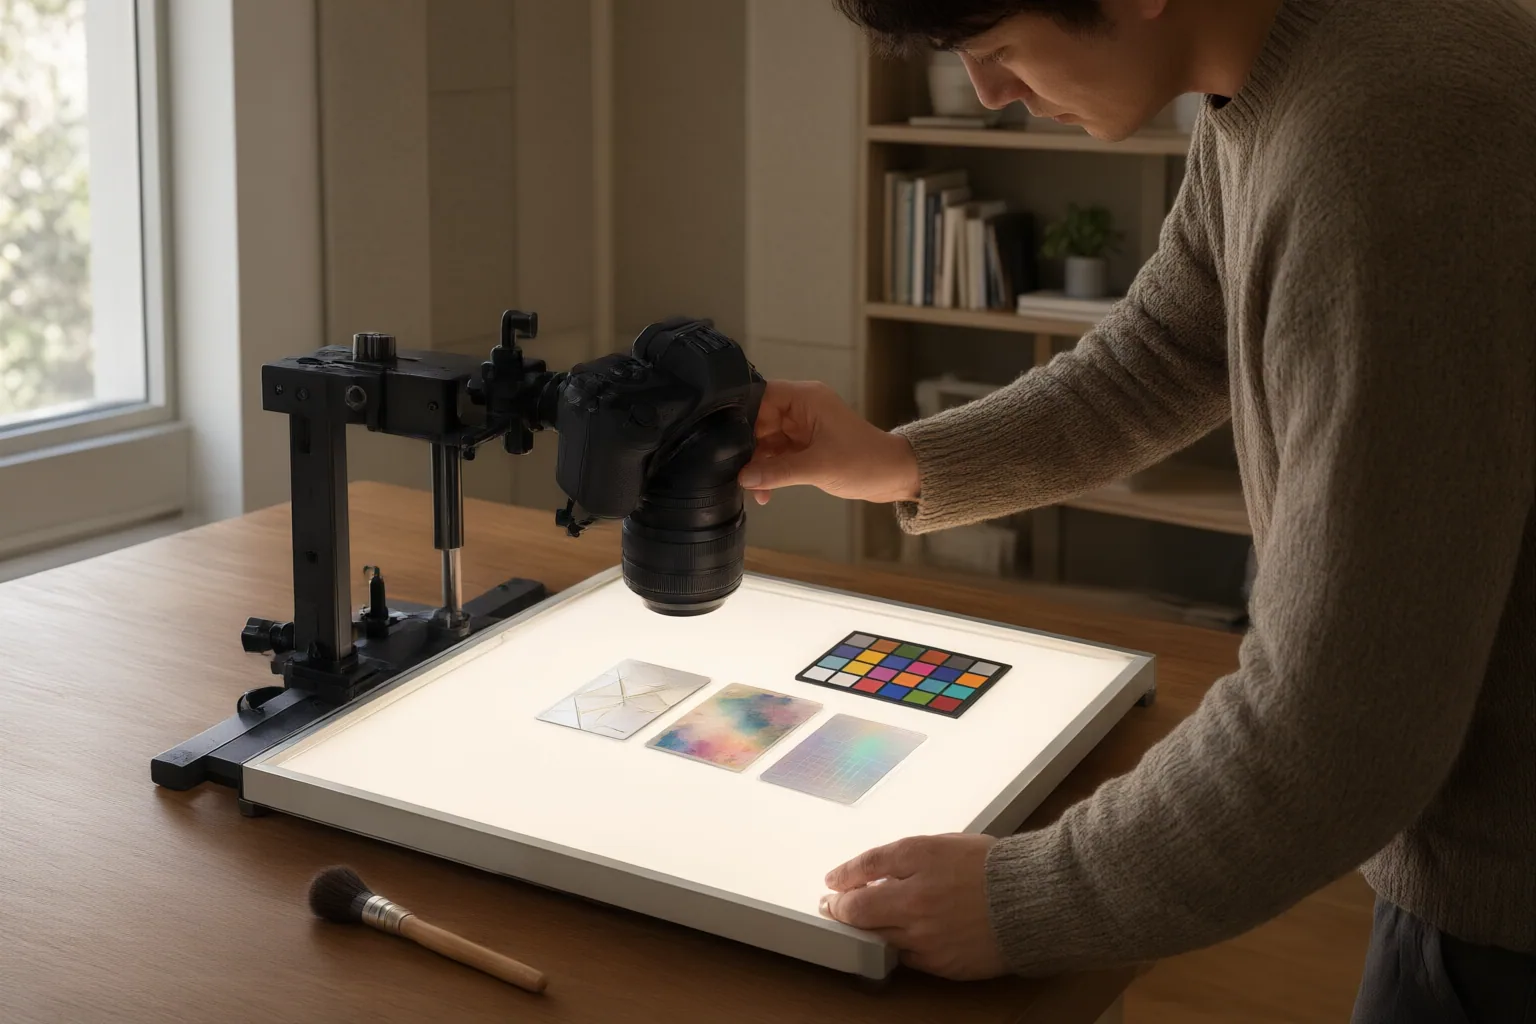
Inspect every photograph at full size before filing it. Confirm that the intended area is in focus, glare is not hiding the surface, and the complete front or back view includes all corners and edges. Retake the photograph while the setup is still available if any evidence is missing or unclear.
Keep processing restrained. Limited adjustments to brightness, white balance, minor contrast, or straightening can help present the captured view consistently. Do not use filters or edits that remove wear, conceal damage, or materially change the card’s appearance. Such changes weaken the photograph’s usefulness as a faithful condition record.
Next, connect the image set to a stable identifier, such as a SKU or custom label, before starting another card. Use that identifier consistently in the record and associated folder or filename scheme. When photographing cards in batches, also maintain a predictable file order. These steps reduce the risk of assigning otherwise clear photographs to the wrong item.
A practical sequence is: assign the identifier, capture the complete views, add defect details, inspect the files at full size, make only restrained corrections, and file the set under the matching record.
Conclusion
A dependable condition-photo record comes from repetition: stable positioning, consistent framing, even lighting, complete front and back views, and focused close-ups where visible defects need clarification. Full-size review catches blur, glare, and missing coverage before those problems enter the collection record. Careful identifiers then keep each finished set connected to the correct card.
These photographs document what was visible under a particular setup. They do not, by themselves, establish a formal grade, authenticity, or monetary value, and conflicting images should prompt clarification rather than a definite condition conclusion.
Start with one card now: assign it a stable record identifier, photograph its complete front and back plus any visible defects, review every image at full size, and file the set immediately under the matching record.
Disclosures and limitations
- This article was prepared with AI assistance from the supplied third-party photographic guidance and was reviewed within those evidence boundaries.
- The cited guidance is practical rather than an official grading-submission standard. No product recommendations or affiliate links are included.
Related reading
Sources
- How to Photograph Trading Cards for Grading: A Step-by-Step Guide — Midpoint – Card Centering, Grading, Portoflio Manangement Blog
- How To Check Trading Card Listing Photos Before You Buy — GrandCollector
- Trading Card Listing Photo Checklist for eBay Sellers — vaultedseller.com
- How to Photograph Trading Cards for Sale | Card Photography Guide — TCG Shows Near Me
- What's Your Card Worth? — Worth My Card — Worth My Card
- How to Photograph Cards for Grading: Pro Tips & Checklist — Midpoint – Card Centering, Grading, Portoflio Manangement Blog