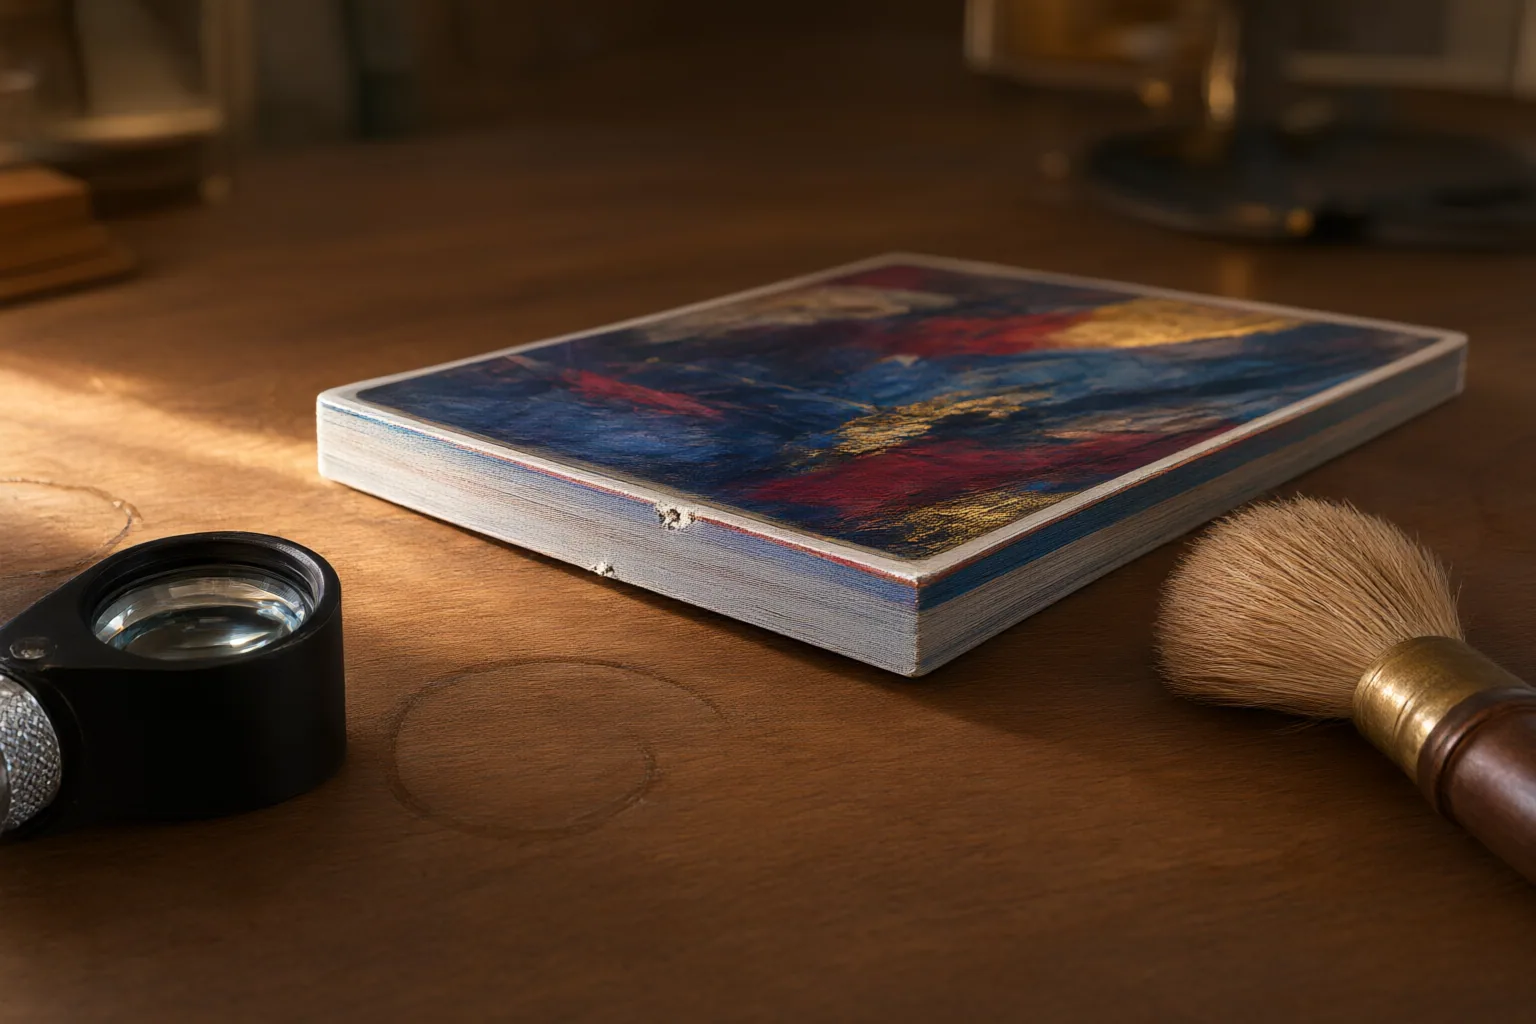
Assess edge chipping by examining the physical cut edge, not colour alone. Under magnification and directional light, look for interrupted ink or coating, exposed light cardstock, or raised fibres, and record uncertain marks without assigning a cause or likely grade.
What Edge Chipping Looks Like
Edge chipping is described in the cited collector guidance as printed ink or lacquer that has physically fractured, cracked, or flaked away from the inner cardstock. That differs from whitening attributed to continuous friction or rubbing. It should also be distinguished from roughness or fuzzing, factory-cut irregularities, and edge creasing, which the guidance treats as separate condition categories.
A light fleck is therefore a prompt for closer inspection, not proof of chipping. Look for a physical break in the printed or coated edge and any lighter material exposed beneath it. Dark or saturated borders may make such exposure especially conspicuous, but strong contrast can also make intentional artwork look suspicious. These descriptions come from third-party collector guides and should not be treated as official grading-company rules or used to predict a grade.
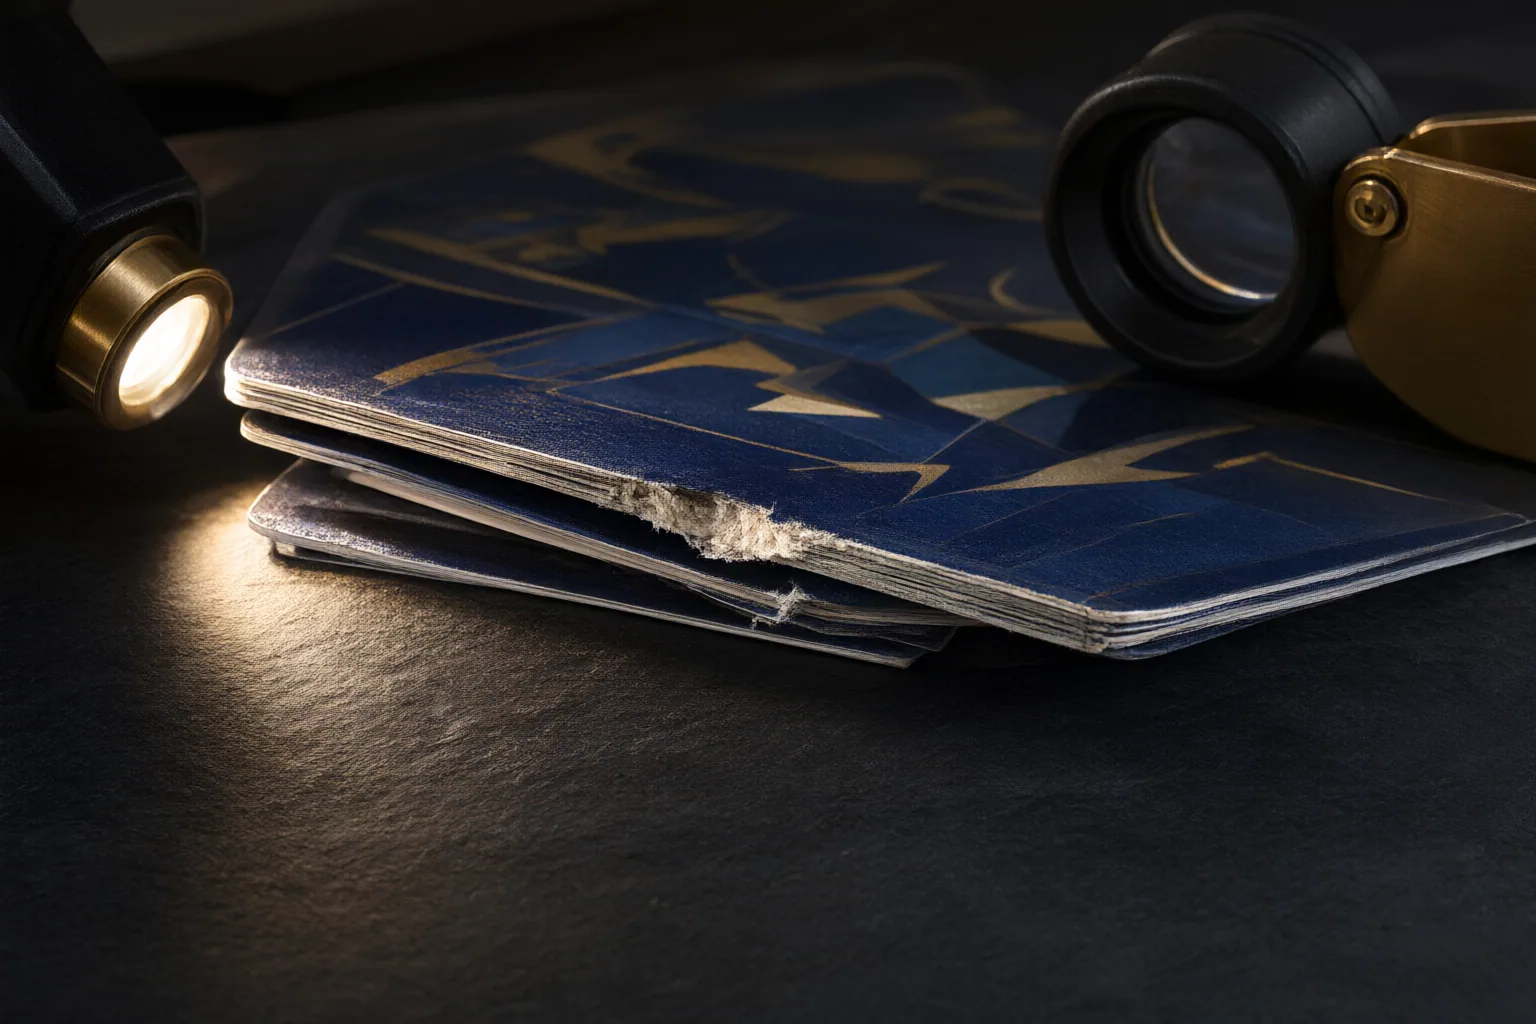
How to Inspect All Four Edges
Use a repeatable, low-contact sequence:
- Place the card against a dark or otherwise contrasting background so exposed light material is easier to see.
- Examine the top, bottom, left, and right edges under magnification. Do not base the assessment on the first visible fleck.
- Direct light across each edge and tilt the card carefully. Flat lighting can conceal small marks that become visible as the angle changes.
- Study the factory-cut bevel. Look for places where the paper core appears to interrupt the boundary of the printed ink or coating.
- Record the exact position and appearance of each questionable area before forming a conclusion.
Keep unnecessary contact to a minimum during this process. The cited guidance associates some edge damage with handling or storage friction and with contact from tight sleeves or rigid holders. Avoid dragging the card across a surface or forcing it into a holder while inspecting it, because those actions can introduce further contact at the edge.
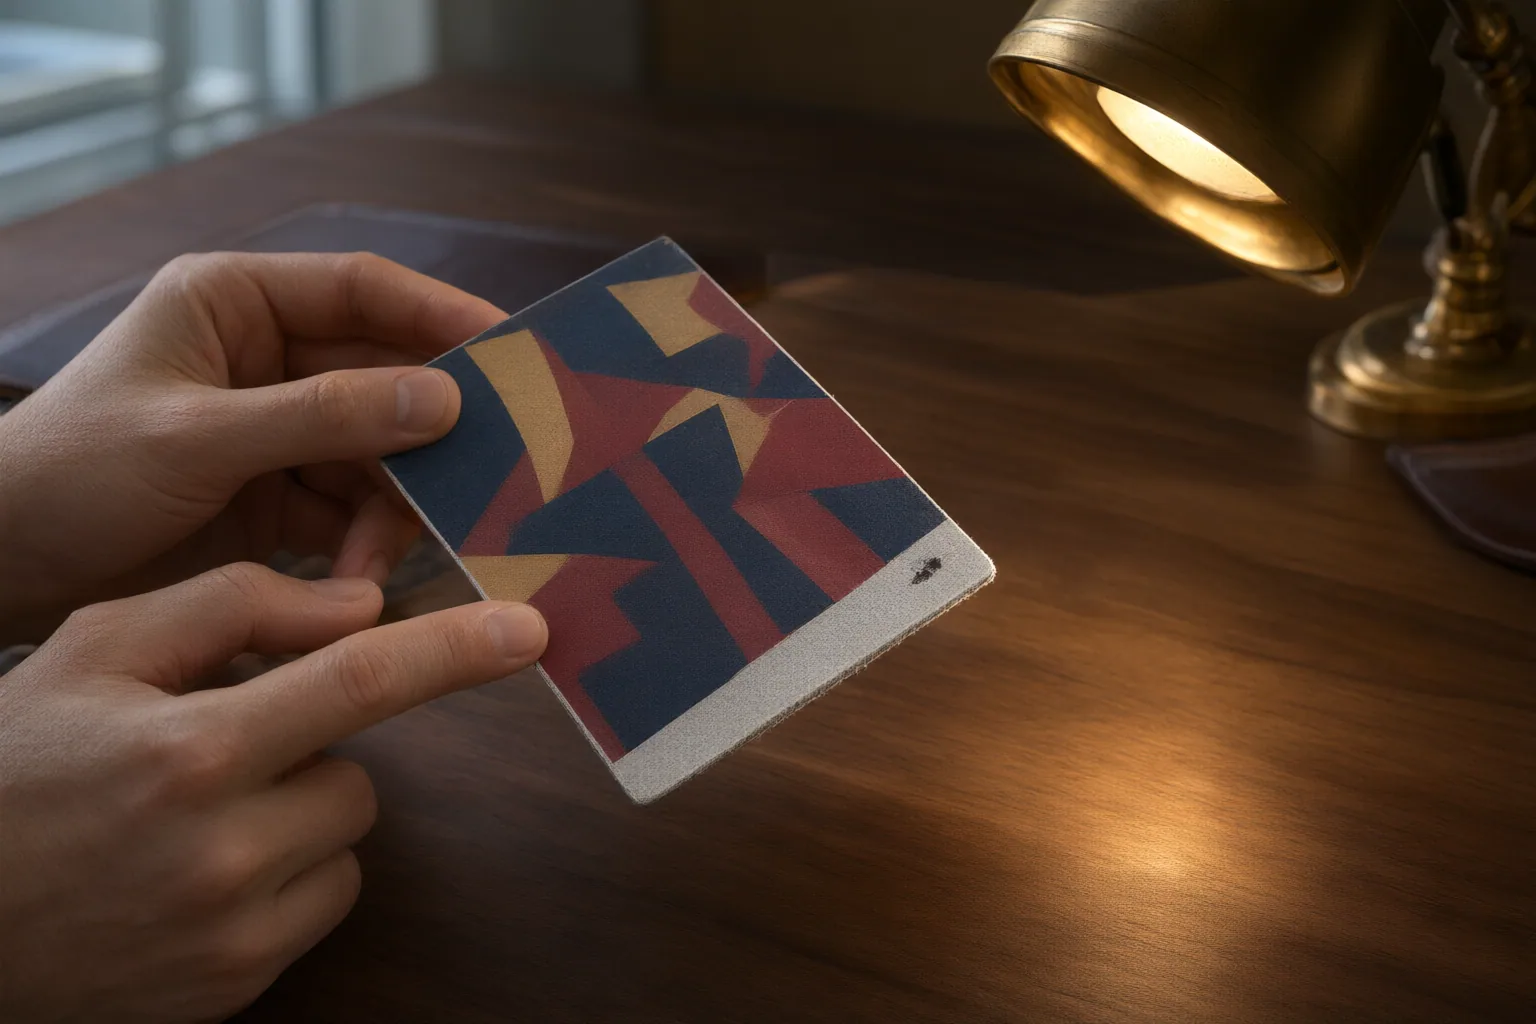
Damage or Printed Design? Evaluate the Physical Boundary
Colour contrast cannot settle whether a mark is damage or intentional design. Instead, evaluate how the mark relates to the card’s physical boundary. Ask whether it sits directly on the cut edge, whether it breaks an otherwise continuous printed or coated line, and whether lighter core material or raised fibres are visible. Tilt the edge under directional light and note whether the suspected break becomes more apparent as illumination changes.
Compare the mark with nearby artwork rather than judging it in isolation. A light detail that remains visually integrated with the printed boundary offers different evidence from an irregular spot where the coating appears absent and the inner material is exposed. Even then, the inspection may identify a physical irregularity without establishing its cause.
Factory cutting, later friction, handling or storage, and contact with a tight sleeve or rigid holder are all possible mechanisms described by the sources. Factory-cut features and later wear can therefore share visual cues. Do not label an ambiguous mark as either damage or design merely because one explanation seems likely. Document its location, boundary continuity, visible core or fibres, and lighting response, then retain the uncertainty. This checklist synthesises third-party inspection guidance; it is not an official grading-company test.
Conclusion
A careful assessment combines several observations: the mark’s exact location, whether it interrupts the printed boundary, whether light core material or raised fibres can be seen, and whether its appearance changes under directional light. Repeat those checks across all four edges rather than relying on one conspicuous area or colour alone.
For your next inspection, photograph every edge under magnification, directional light, and against a contrasting background. Log ambiguous marks as uncertain instead of assigning a cause or predicting a grade from a single visual cue.
Disclosures and limitations
- This article was prepared with AI assistance from the supplied third-party collector guides. Those sources provide inspection guidance, not verified official grading-company rules.
- No product recommendations or affiliate links are included. Readers should preserve uncertainty where the supplied sources do not establish whether a mark is printed detail, factory cutting, or later damage.
Related reading
Sources
- Edge Wear on Trading Cards: Detection & Grade Impact … | PreGradeCards — PreGradeCards
- What Are Edge Chips on Trading Cards? PSA 10 Grading & Edge Wear — DEDCcard
- Edge Chipping Resistance Using Macroindentation – — NANOVEA: Advanced Profilometers, Tribometers, Nanoindenters, and Scratch Testers for Materials Testing
- Card Edge Chipping & PSA Guide — DEDCcard